Creating and releasing a project on Drupal.org
Over the course of my latest project at Microserve, I've helped to write some custom modules that have been reused across a few other projects internally. Instead of keeping them internal, I decided to open-source them and post them on Drupal.org, feeding back to the community and ensuring the stability and safety of the code.
I found the process to be quite difficult to follow, so here's a handy summary of how to publish a module to Drupal.org, and some tips and tricks along the way.
Before you begin #
Relevant article: Authenticating with Git
In order to release a project to Drupal.org, you will need to have enabled Git access on your account. This is a one-time process that will allow you to push commits to Drupal - particularly useful for module maintenance! I recommend adding your SSH key to your account.
This article will assume that you already have a module (or a theme, or distro) ready to push up to Drupal.org. I won't be walking through module development, but will be pushing up fully-formed code to create a new project.
Drupal.org preparation #
Relevant article: Create a project (module or theme) on Drupal.org
First things first: you'll need to create your project on Drupal.org!
After logging into your account, head to your dashboard, then to the Projects tab. Here you should see a link to "Add a new project"
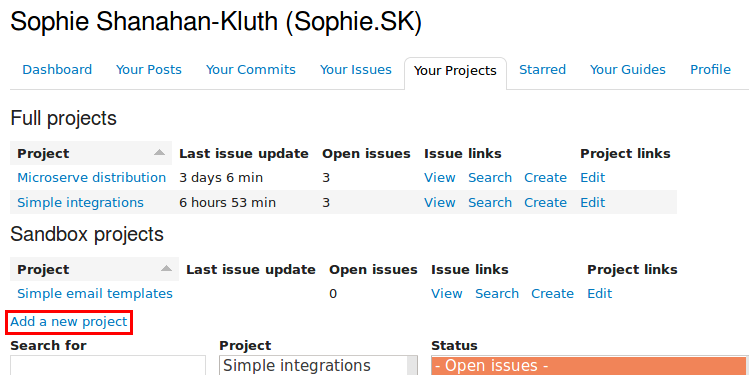
Click that and go through to the next step. It's up to you which option you choose; chances are you want either a module project or a theme project.
Depending on how brave you feel, you can either create a sandbox project or a full project. Either way, you will need to describe the maintenance and development statuses, provide a description, and - the hardest part of any developer's job - give your project a name!
Sandbox vs full - what's the difference? #
Relevant article: Creating a sandbox (experimental) project
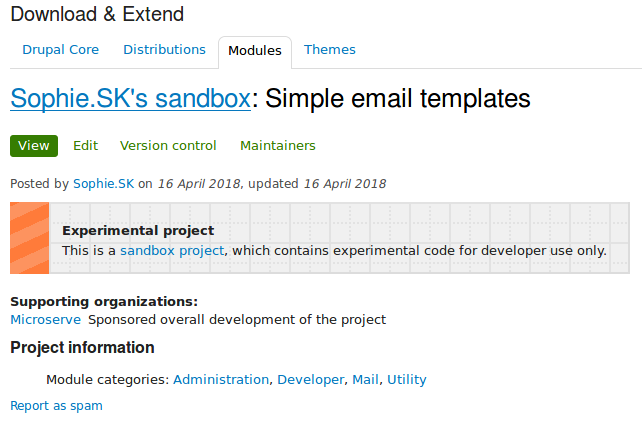
A sandbox project is considered an "experimental" project, and a warning is displayed at the top of the page to say that it should be used with caution. The only way to install a sandbox project is directly from Drupal.org using Git.
A full project appears in the main project issue drop-down. Only full projects can have releases (downloadable files), and they have human-readable shortnames such as views or ctools.
Pushing your first commit #
Relevant article: What do version numbers mean on contributed modules and themes?
Hopefully now you've got yourself a shiny project page!
Head over to the "Version control" tab. This will provide basic Git commands. First things first, you'll need to initialise your git repository and checkout a new branch. So, let's get started! Initalise your repository and add Drupal.org as the project's remote.
$ git init
Initialized empty Git repository in /home/sophie/projects/simple_email_templates/.git/

$ git remote add origin {username}@git.drupal.org:sandbox/{username}/{projectname}.git
Branch naming is a tricky business. You may want to take a look at the article linked above for an idea of what to name your branch. Generally speaking, though:
- The first part, 8.x, refers to the Drupal version that this module is compatible with. Once set, you probably won't need to change this, unless you backport or upgrade your module for another version of Drupal.
- The second part, 1.x, refers to the module version. If you're working to version 1 of your module, then 1.x will suffice. If you're doing version 2, then 2.x.
- For releases, the second part will change. Stick with the major version number (1, 2, etc), and change .x - so your first release will be 1.0, the next stable release will be 1.1, etc.
- You can be more specific with the second part, for example a release candidate might be 1.0-rc1, or a beta version might be 1.4-beta2.
Once you've figured out what your branch will be called, go ahead and create it:
$ git checkout -b 8.x-1.x
Switched to a new branch '8.x-1.x'
Add the files you've already created and commit them! This is your big moment. Make it count. ;)
$ git add .
$ git commit -m "Initial commit!"
$ git push -u origin 8.x-1.x
Counting objects: 9, done.
Delta compression using up to 4 threads.
Compressing objects: 100% (9/9), done.
Writing objects: 100% (9/9), 2.00 KiB | 2.00 MiB/s, done.
Total 9 (delta 1), reused 0 (delta 0)
To git.drupal.org:sandbox/{username}/{projectid}.git
Branch '8.x-1.x' set up to track remote branch '8.x-1.x' from 'origin'.
And that should be it! Your code should be up on Drupal.org and now anybody who wants to check out your project will be able to do so, by directly checking out your repo using the Git URL.
If you need to add any more commits - updating files or addressing issues in the queue - you would do the same thing again. Add the changes, make a commit, and push up to the branch you created.
Finally make sure that when other developers check out your code (either to use the project, or to contribute back in the issue queue), they are checking out the correct branch. Head back to the "Edit" tab, and click on "Default branch".
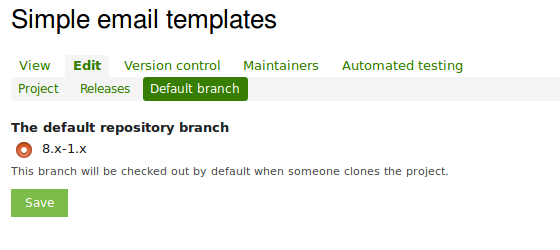
Select the branch you just pushed up, which will act as the development branch. All of your latest and greatest code will be merged into this branch and it's the one that other developers should patch against.
The next thing to do is to promote your project from a sandbox to a full project, if you haven't already.
Promoting your project #
Relevant article: Promoting sandbox projects to full projects
Project promotion is a one-way action. Once you've converted a sandbox project to a full project, you won't be able to turn it back.
From your project page, click on the "Edit" tab, and then "Promote".
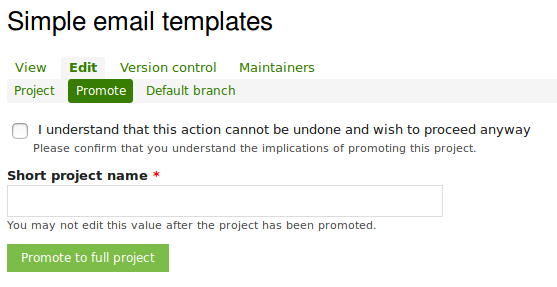
You may have had an idea for your project's name before you went into this, but it's possible that someone else has taken that shortname already. Double-check by going to https://drupal.org/project/{projectname}.
Enter the name you've chosen, check the box above, and then proceed through the next steps to confirm. Congratulations! You've got a project live on Drupal.org!
Don't forget that your Git remote will have updated. Previously it was your sandbox URL but now it's the full project URL. There will be a reminder at the top of your project page, but to update your remote, run the following:
$ git remote set-url origin {username}@git.drupal.org:project/{project_name}.gitYou've got a full project, but now it's time to make it easily available to everyone. Many developers will shy away from using a development version of a module (which is what your cutting-edge 8.x-1.x branch is), so let's make sure there's a stable version for them to download instead.
Creating a stable release #
Relevant articles: Creating a project release, Release naming conventions
A stable release means that your project is ready to be used by other members of the Drupal community. There are no critical bugs, you're on top of the issue queue, and you're happy for anyone to install your project.
First you'll need to tag your code ready for release. There are instructions on your project, under the "Version control" tab. Towards the bottom of the page is a section about "Creating releases". Follow the instructions there for a stable release.
I'm going to tag this as a release candidate, because it hasn't had any time on production sites other than the one I've been working on. I also want to apply for security coverage, and that process stipulates that the project should be in a release candidate state when I make the application.
$ git tag 8.x-1.0-rc1
$ git push origin tag 8.x-1.0-rc1
Total 0 (delta 0), reused 0 (delta 0)
To git.drupal.org:project/simple_email_templates.git
 * [new tag]         8.x-1.0-rc1 -> 8.x-1.0-rc1
You'll then need to go back to the "Edit" tab of your project, then to the "Releases" tab, where you should see a link to "Add new release":
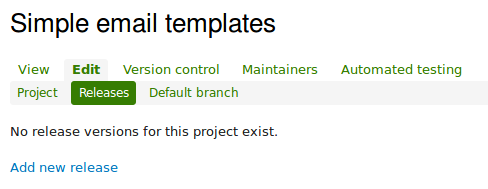
On the next page, you will be able to select the tag you just pushed up. Fill in the information on the next page - including release notes (if needed) - and click next.
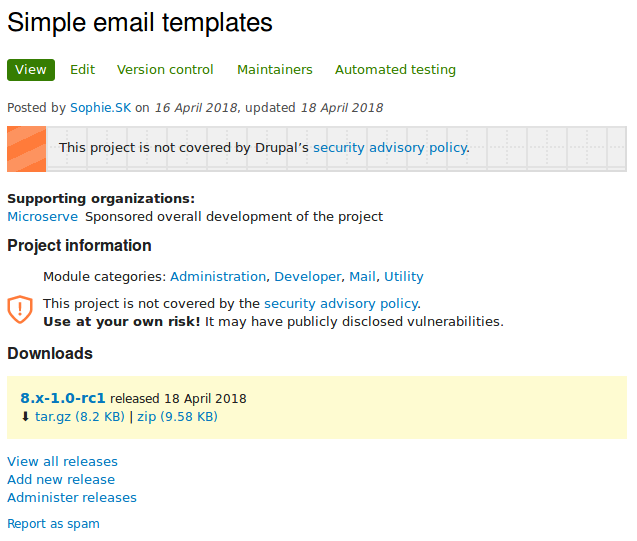
Don't worry that the next page is unpublished! I had a panic the first time this happened. Your release is not ready for the world yet: the code needs to be zipped up and checked by Drupal.org.
After a few moments, your release should appear on the project page. Congratulations! You have a project that can be downloaded by anybody, anytime!
Getting coverage from the security team #
Relevant article: Security advisory process and permissions policy, Apply for permission to opt into security advisory coverage, Review bonus
The final step in this journey is to apply for coverage from the security team. The message at the top of the project page may deter some people from downloading the project, so let's get it reviewed by other members of the Drupal community.
Before you submit your project, take some time to read the articles listed above. You may want to run your code through PAReview, which will provide a quick overview of things that are missing or not entirely up-to-scratch.
You'll need to head to the Drupal.org security advisory coverage applications project (rolls off the tongue!) and create an issue there. There is a guide to what information you need to include there, but in general, you should try to include a project synopsis, a link to your project, the Drupal version it's for, and any other information you think is pertinent.
This process can take a while (up to a year), but if you have some time, you could try and review some other projects. There is a review bonus scheme: if you review other modules (and reference them in your issue), then yours is more likely to be seen and reviewed sooner.
There may be a number of bugs (some may be critical) that come out of this review process, so be prepared to fix those before you are able to release your final 1.0 version.
And that's it! #
You've successfully created and published a project to Drupal.org! Nice! By releasing your project to Drupal.org, you're cementing your position as a Drupal community member.
I think that makes you a pretty awesome person. :)